ZWO ASIAIR Pro Smart Astronomy Controller - Used In Excellent Condition

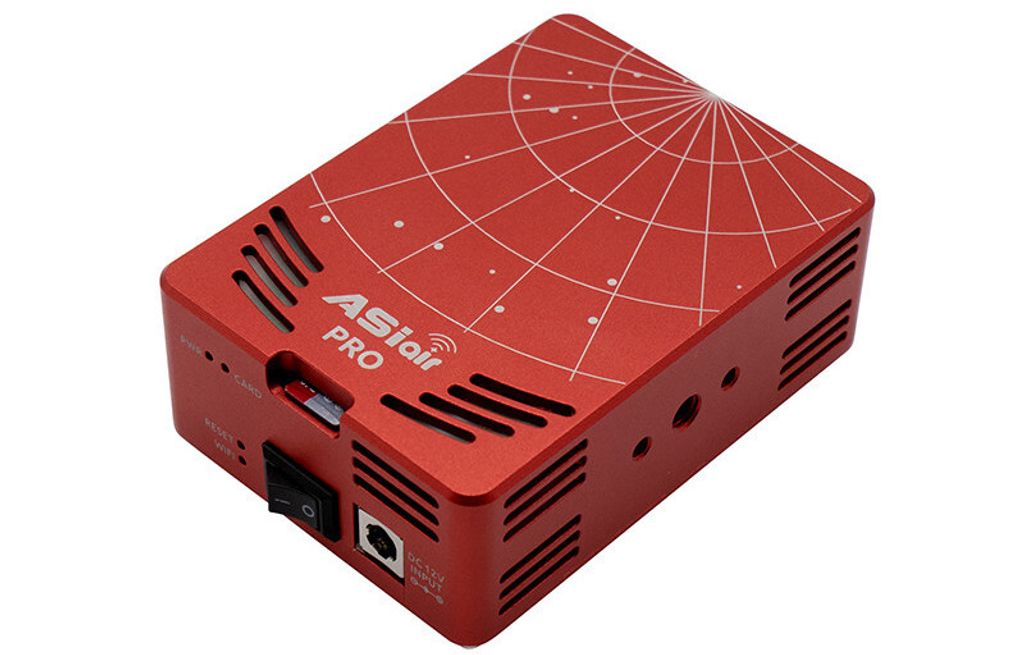
ASIAIR PRO is a smart WiFi device. It is equipped with a lightweight power management module, ample USB interfaces, and multiple dovetail mounting methods.
With the rich features of the ASIAIR App, the whole procedure from device integration to image capture runs particularly smooth.
ASIAIR PRO is the second generation of ZWO that has been continuously improved and newly designed since the first generation of ASIAIR was released in July 2018.
Outstanding Features
1. Excellent craftsmanship, strong tactile appeal
Superb craftsmanship with a strong tactile appeal ASIAIR PRO shell is made out of aluminum and processed by CNC tech. After the surface is anodized, it not only protects the shell well, but also has a comfortable feel. The size of the whole machine is 92 x 67 x 35 mm, making its size and weight excellent, which can be easily grasped by hand.
 2. Unique look and easy installation
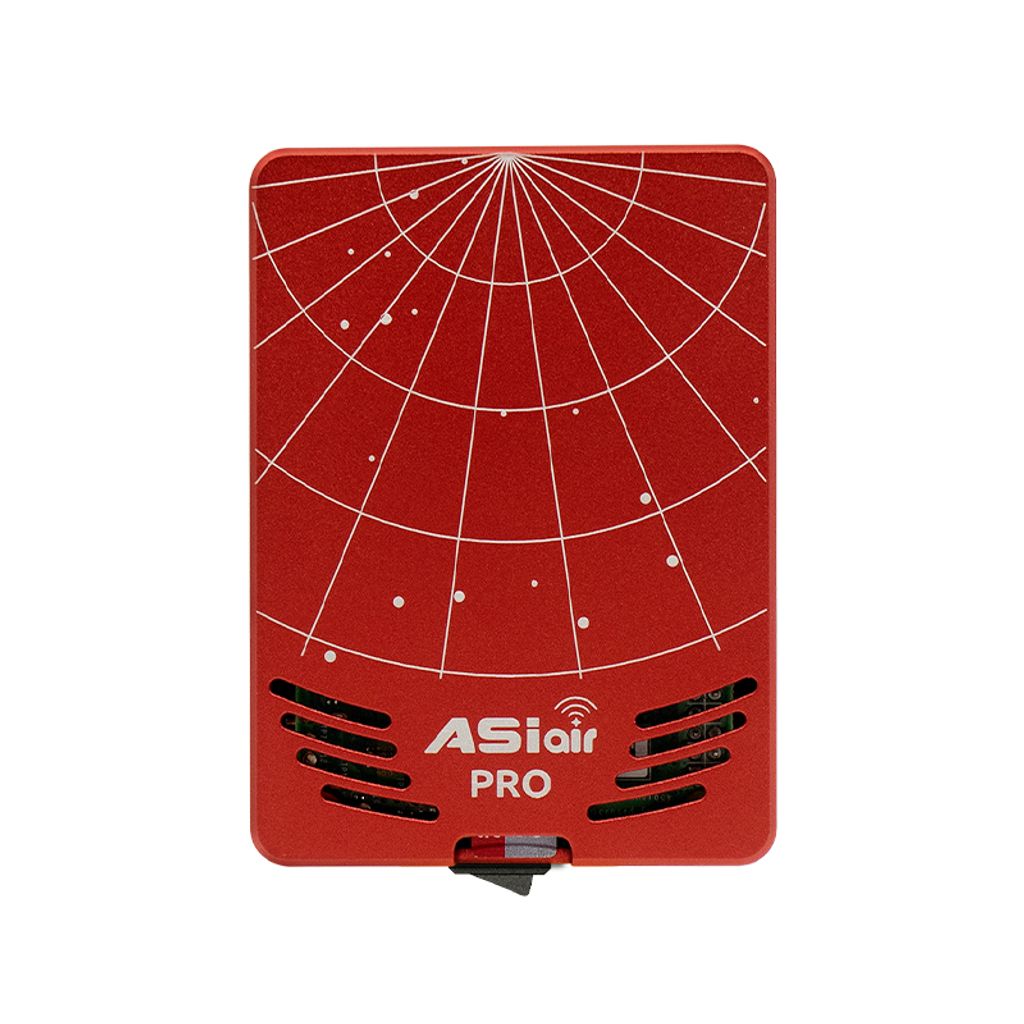
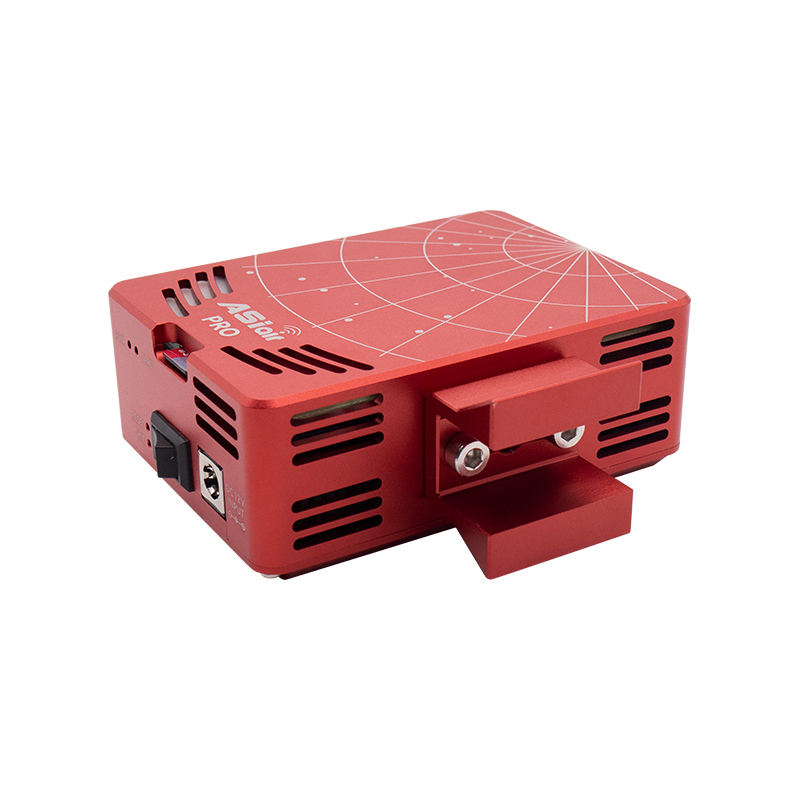
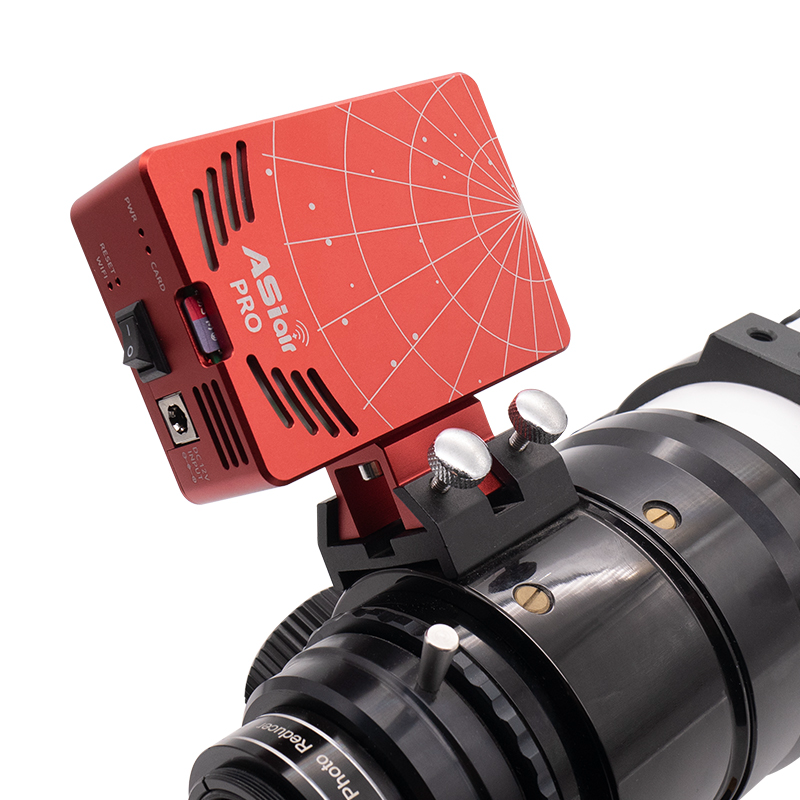
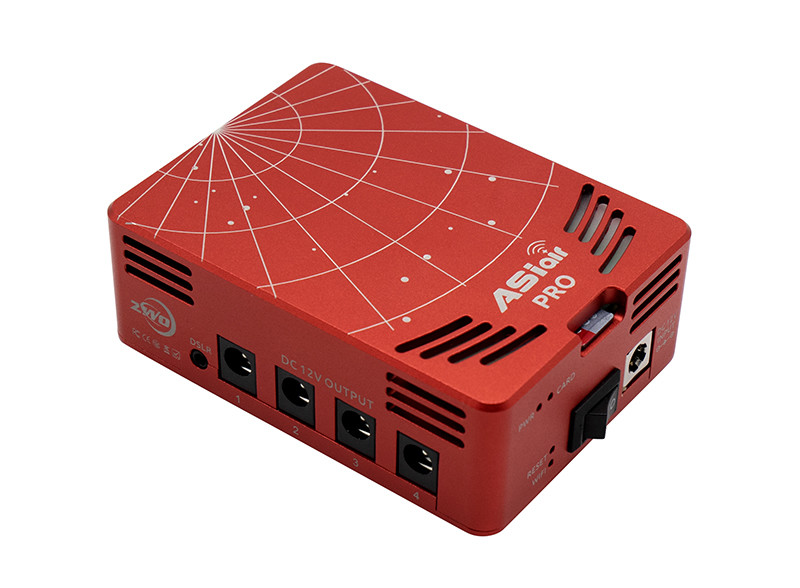
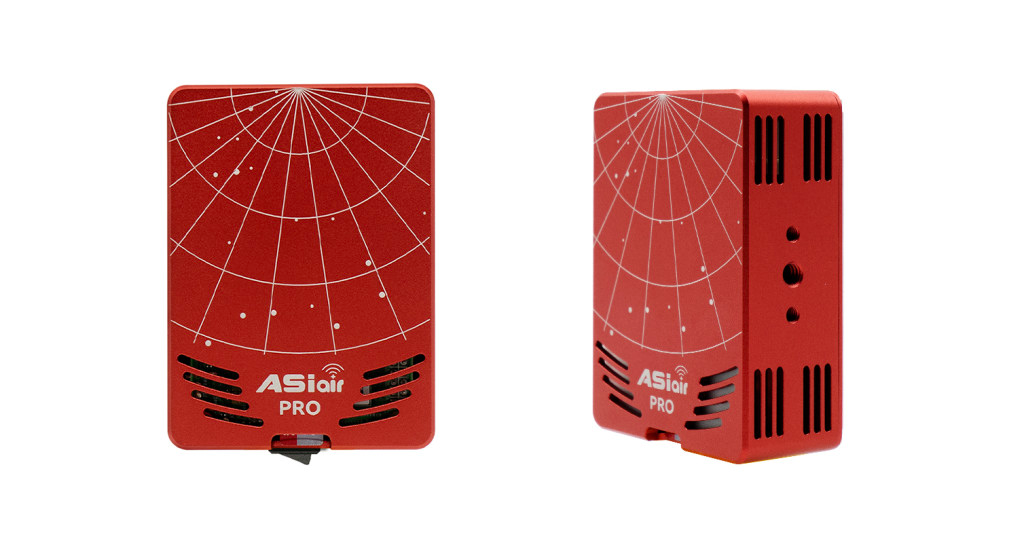
The slot/port position of ASIAIR PRO is nice and symmetrical, with M4 and 1/4 inch openings on the bottom and the side. With the use of the dovetail, the installation and removal become easy. The whole machine adopts bright vibrant Ferrari red tones, and the front is painted with laser star maps of the constellation Ursa Minor and Ursa Major, which is very beautiful.
 3. Integrated power management, more storage space
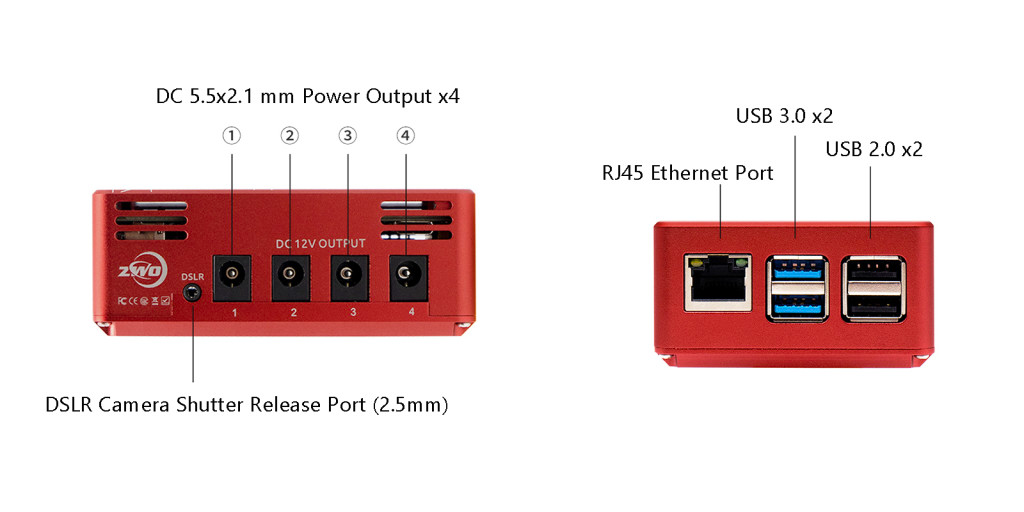
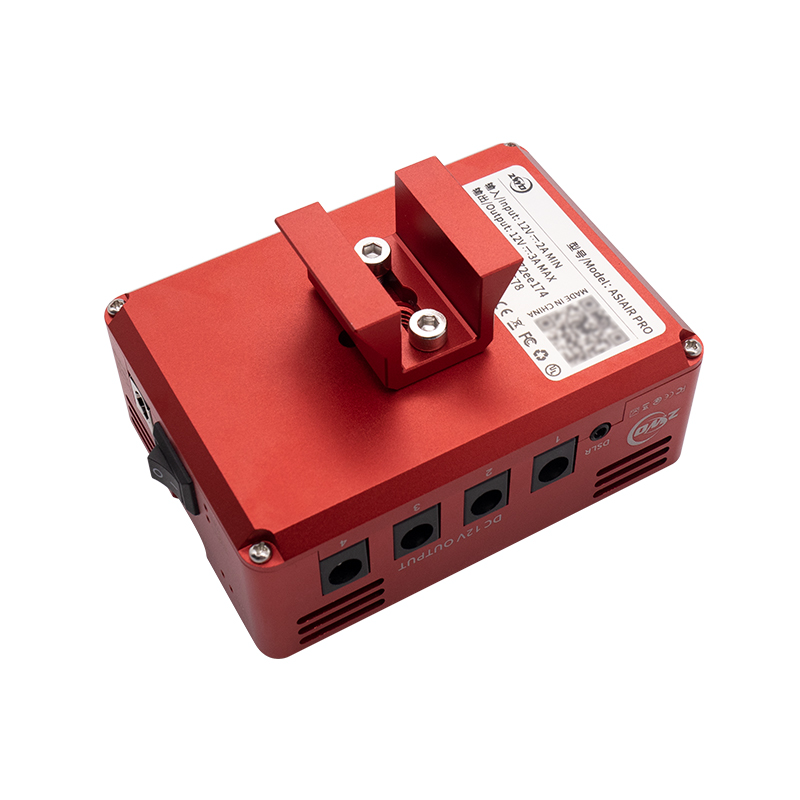
ASIAIR PRO is equipped with a lightweight power management module. There are four DC 5.5 x 2.1 mm power outputs on the side of the body, one DSLR shutter release port, two USB 2.0 and USB 3.0 ports each. The power supply is stable and reliable, the interface is rich and diverse, and the wiring is easy and orderly. It also comes with 84 GB of free storage, so you can capture images freely.
Note:ASIAIR PRO’s or ASIAIR Plus’s USB power supply is not enough for ASI6200/ASI2600/ASI533//ASI071MC cameras to work normally, so please use an external 12V power supply, which can be connected to the ASIAIR PRO’s power management as well.
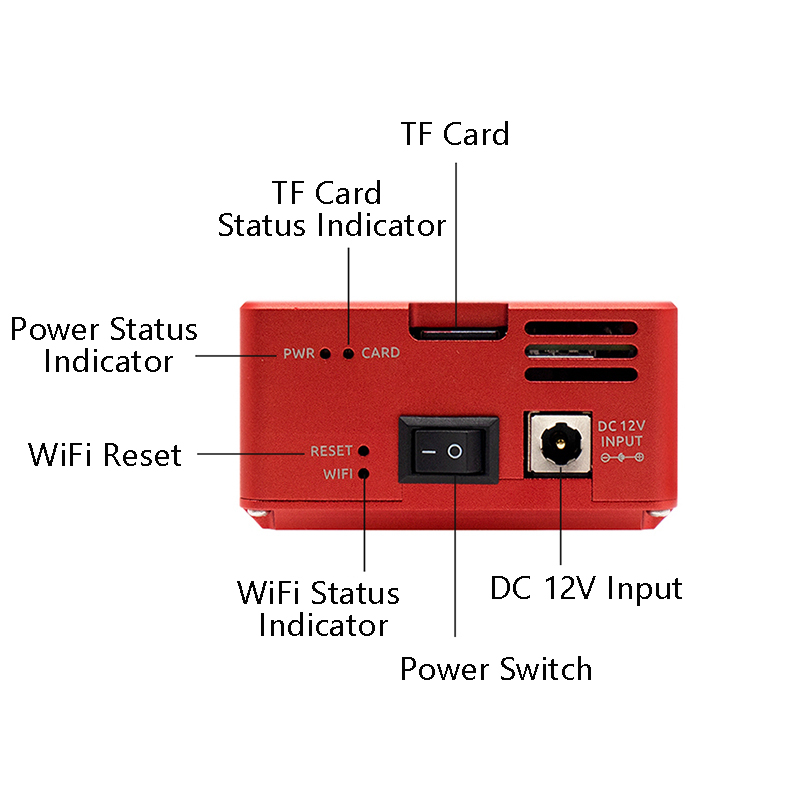
4. LED indicator, clearly indicates the working status
The LEDs will show the working status clearly. What’s more, it has the key operation warning tone, which makes the whole operation under control.
Note: You can enhance the WiFi signal of ASIAIR by using the ZWO WiFi extender.
App Functions
ASIAIR supports both iOS and Android systems.
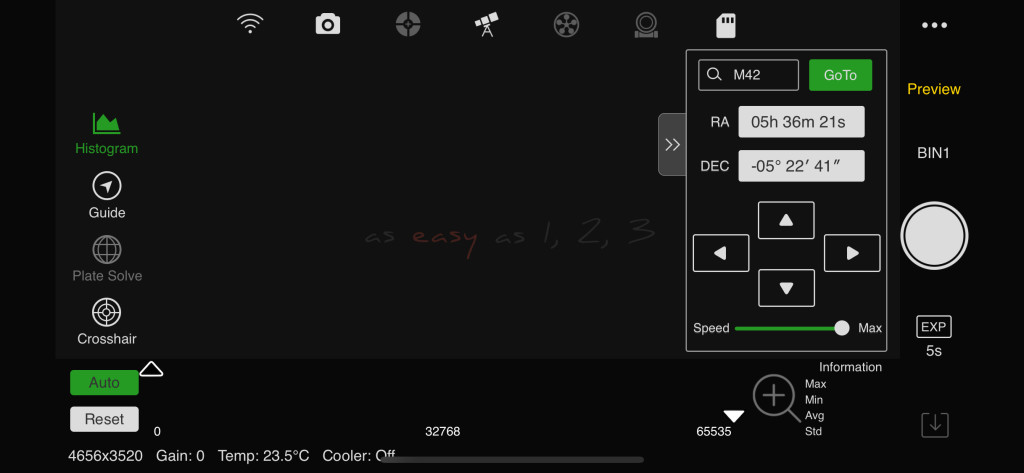
1. Simple APP interface, as easy as 1, 2, 3.
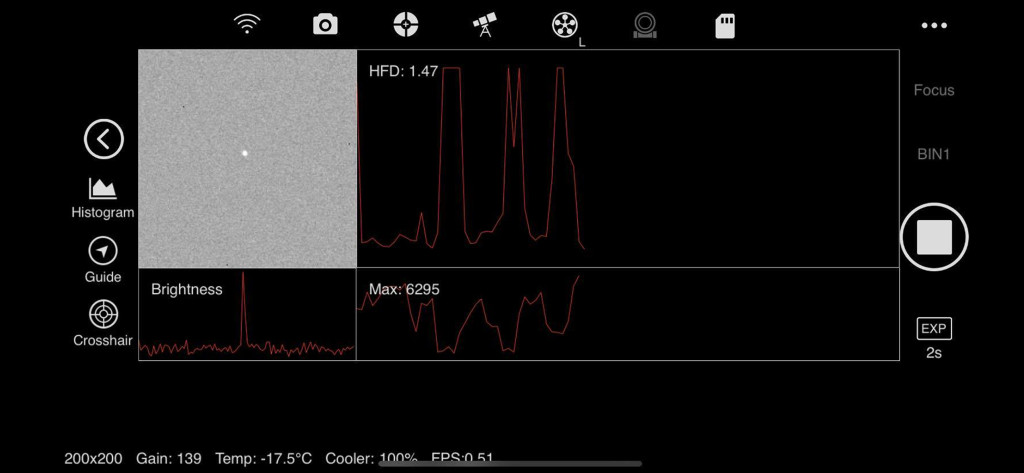
2. Accurate focus: After the rough focus is completed, select one star, then accurate focusing can be done through curves such as brightness and HFD. Start from version v1.5.3, the autofocus can also be completed with ZWO EAF by remote control.
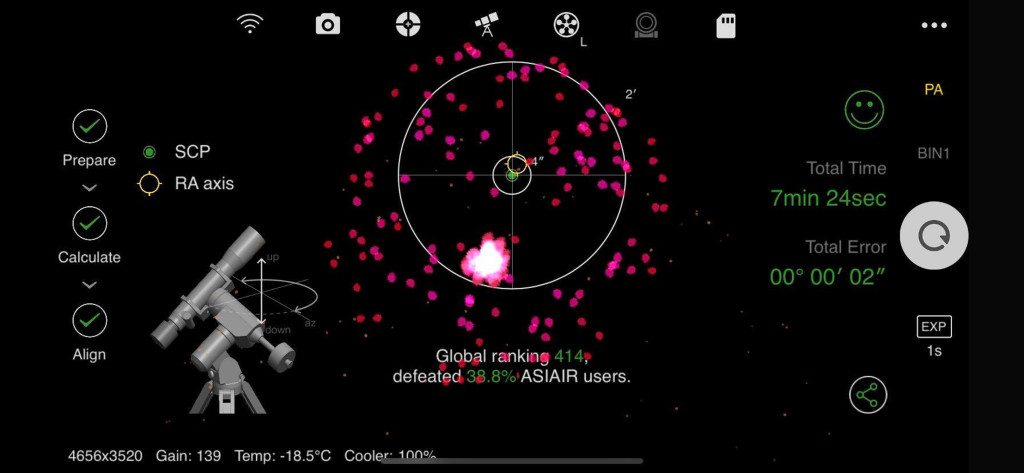
3. Polar Alignment: Based on the powerful plate-solving function, you can finish arc-second polar axis alignment only within few minutes.
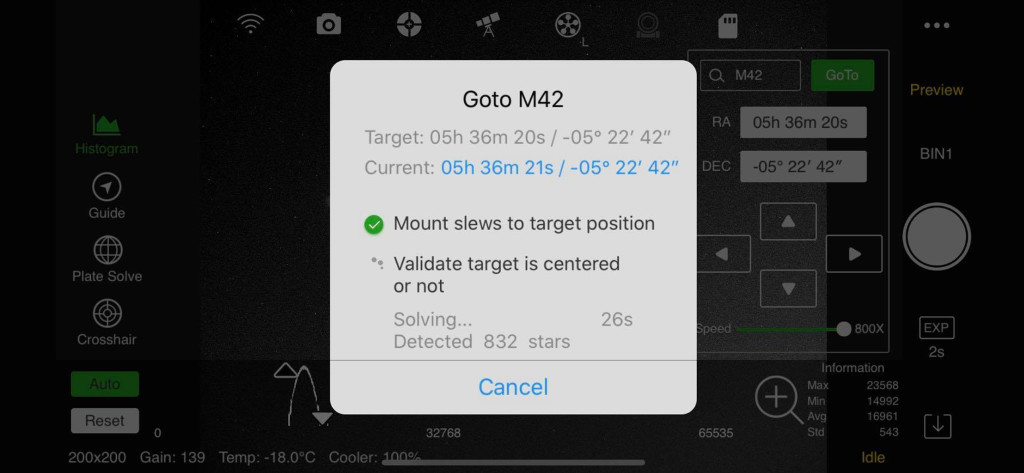
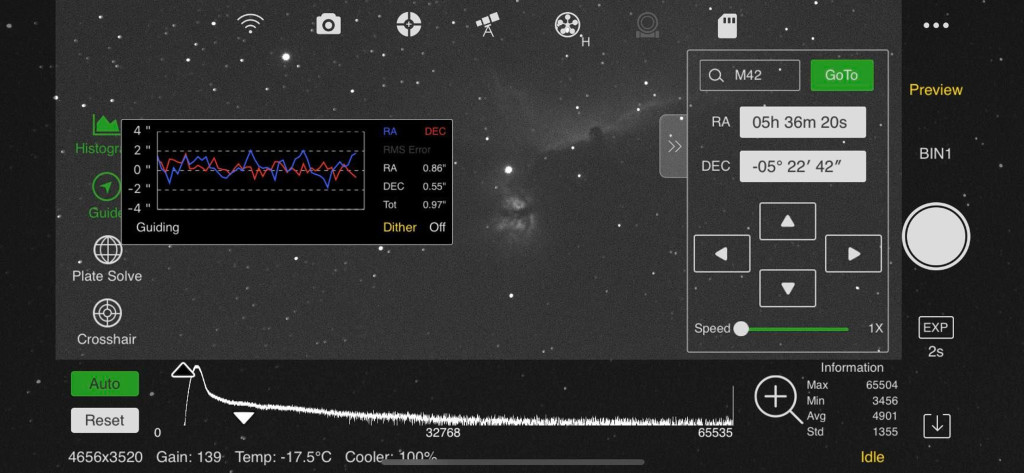
4. Accurate GoTo: With the rich celestial object database, precise GoTo can be achieved after selecting the target.
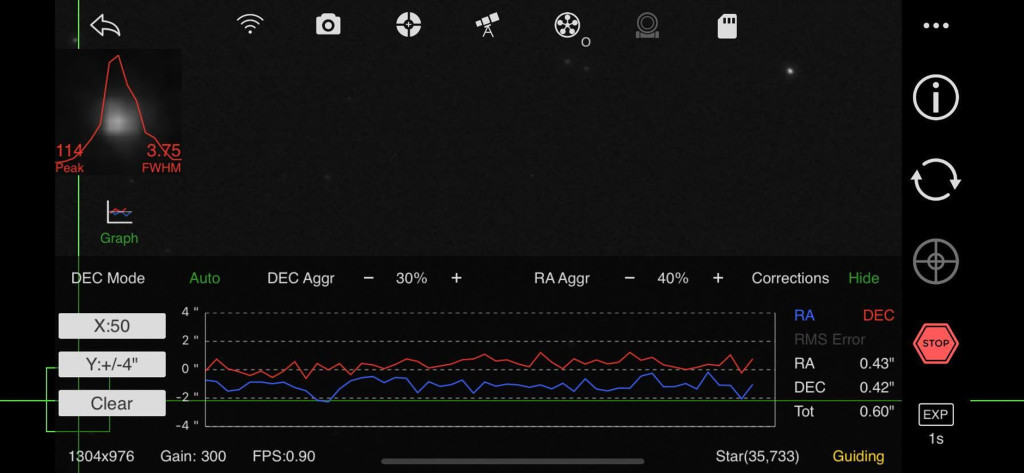
5. Stable guiding: Independent and stable guiding can be achieved without the PC. You can choose single-star guiding or multi-star guiding as you wish.
6. Preview mode: You can see the image of the target directly under ‘Preview’.
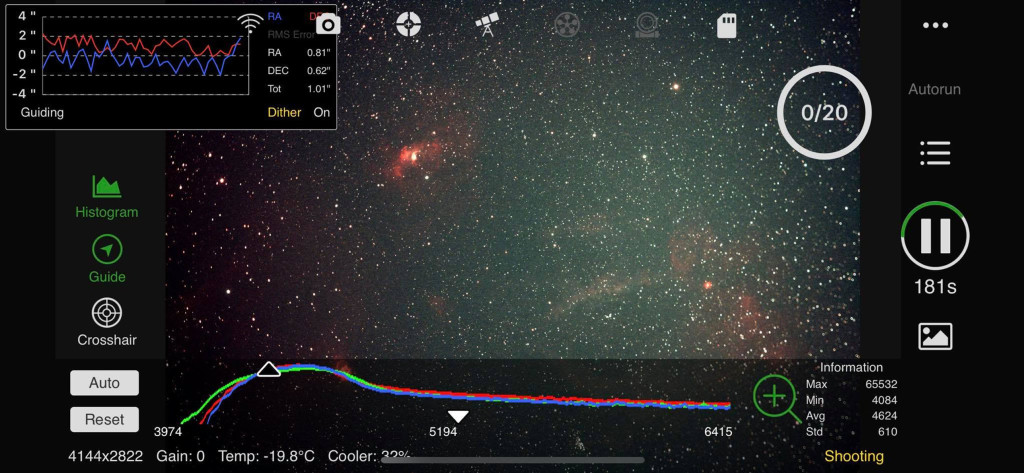
7. Autorun: Set the target and configure the schedule, ASIAIR will execute the imaging sequence automatically.
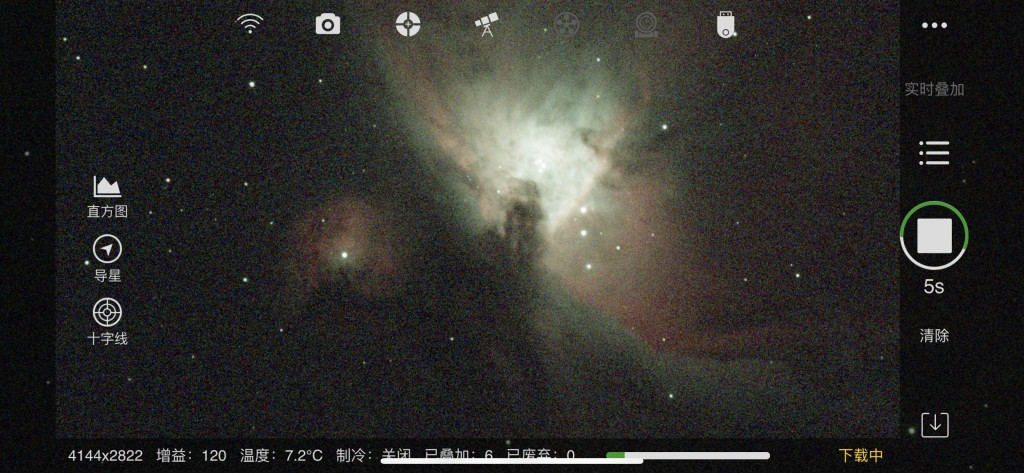
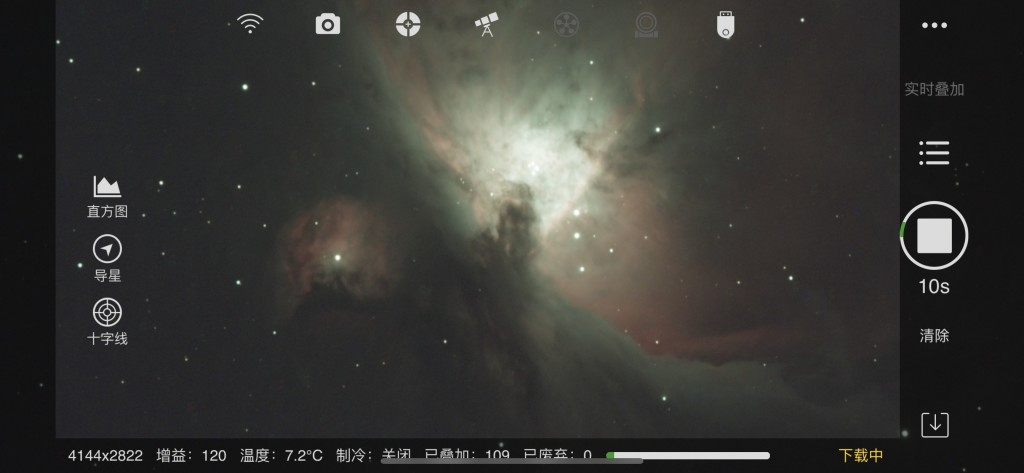
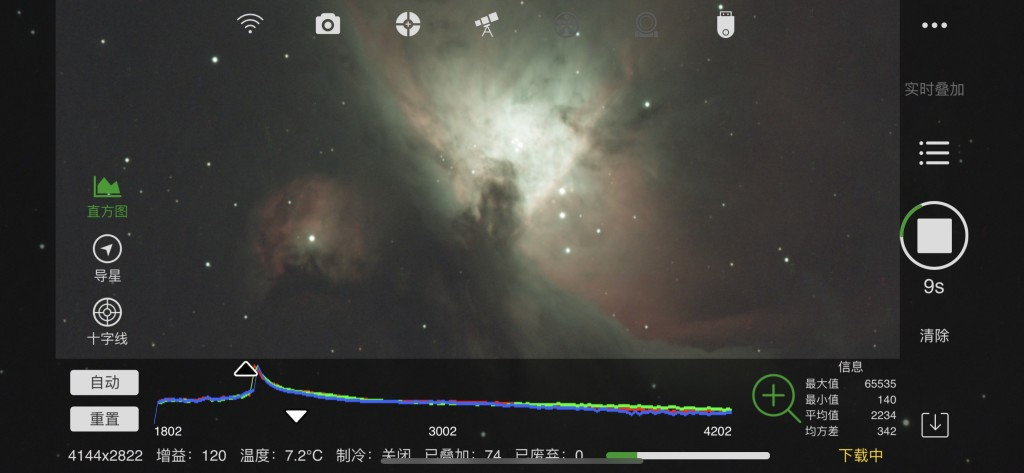
8. Live Stacking: You can see the stacked image (lower noise with calibration frames) of the target directly while capturing.
Single-frame
Live stacking
Nonlinear stretch
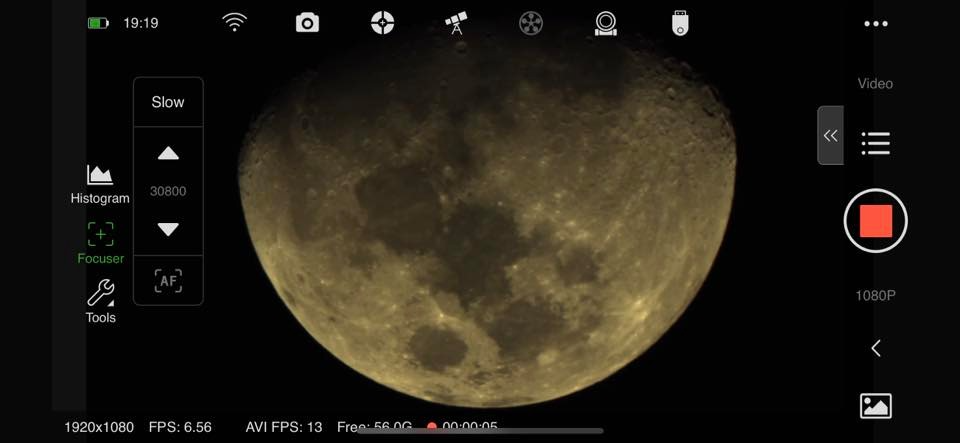
9. Video mode: This mode allows you to capture videos in order to do planetary imaging. The video can be saved as an MP4 in your phone so that you can directly share it on the social network.
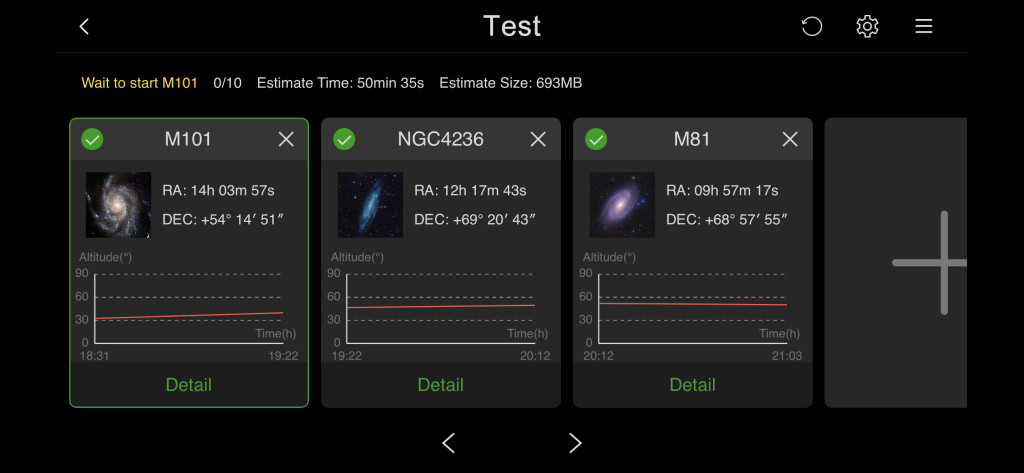
10. Plan mode: Capture multiple objects in one night unattended.
Supported DSLRS & MILCS
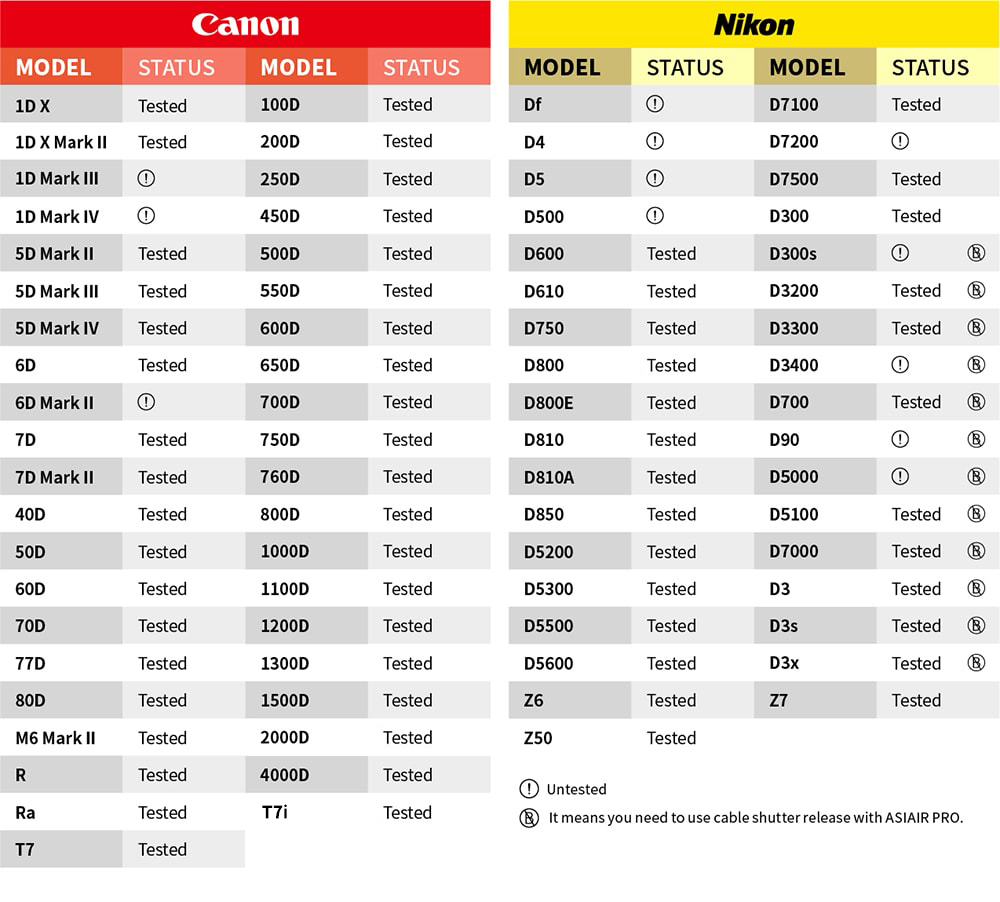
ASIAIR PRO is a smart WiFi device that allows you to control Mainstream DSLR cameras.
Note:
1. Some DSLR cameras have a 30-second exposure limit, which requires an external shutter release cable to ASIAIR PRO.
2. The items with an exclamation mark in the table above have not been verified by actual tests and will be continuously updated in the future.
Supported ASI cameras
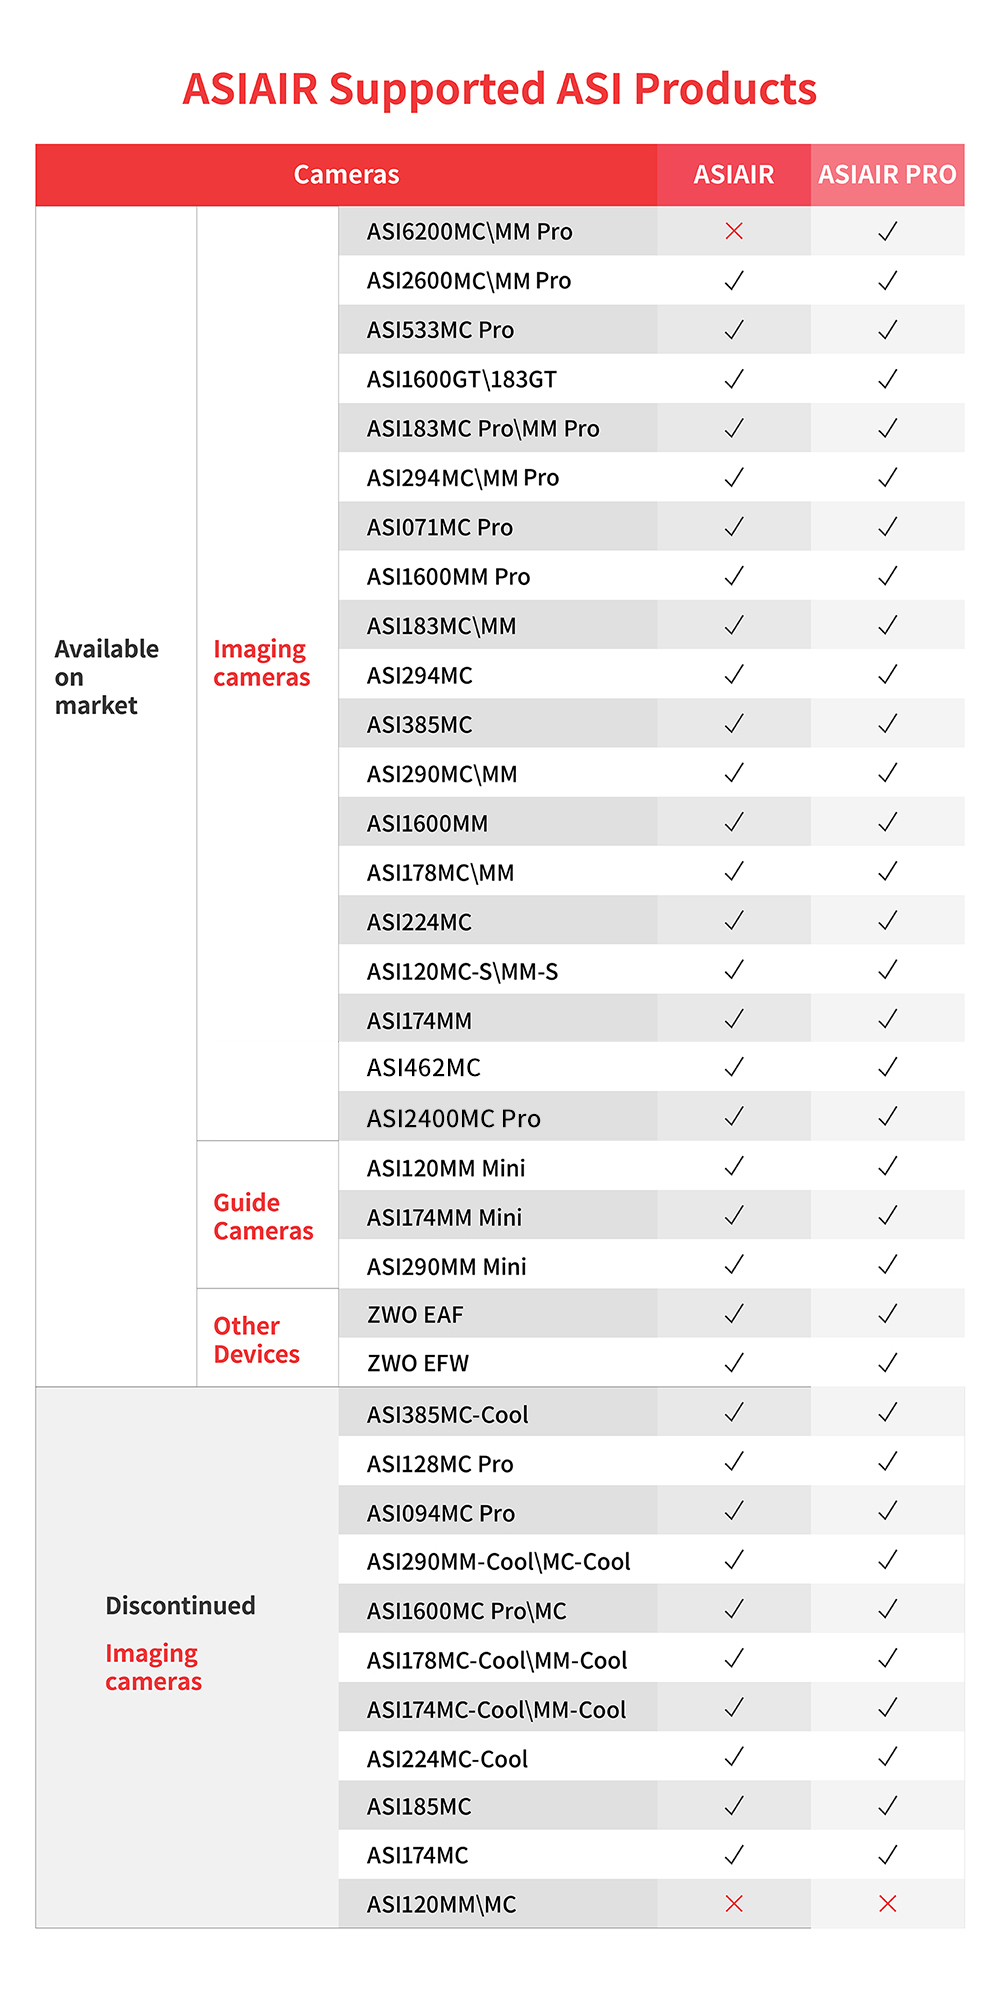
All ASI Mini series cameras(ASI120MM Mini, ASI174MM Mini and ASI290MM Mini)
ASI120MC-S/MM-S, ASI385MC, ASI224MC, ASI178, ASI174, ASI290, ASI462
ASI1600, ASI294, ASI183, ASI071, ASI533, ASI2600, ASI6200, ASI2400
(It does not support ASI120MM/MC camera)
Supported Mount
We have also been working closely with major manufacturers to complete bringing in the match of iOptron, Vixen, Rainbow, Avalon, Explore Scientific and other models (including some new models). For now, the ASIAIR PRO is able to support hundreds of equatorial mounts from more than 20 manufacturers worldwide. For details, please refer to the “ASIAIR PRO User Manual”.
All mounts and cameras supported with the previous version (ASIAIR)can also work with ASIAIR PRO
note:
1. If your new Sky-Watcher EQ6-R Pro has the connection issue with ASIAIR or ASIAIR PRO, Please download this mount OS file to fix it.
https://drive.google.com/file/d/1MLd0TO7yzPsiqIzVpUVn743DaEnKzox9/view
2 iOptron new batch of G series mount, such as CEM40G/GEM45G/CEM70G etc. Having connection issue with ASIAIR or ASIAIR PRO, please connect the mount to the cooled camera USB hub then to the ASIAIR or ASIAIR PRO.
Attached Method
Please note, the dovetail is attached to the ASIAIR PRO body when you receive it ; )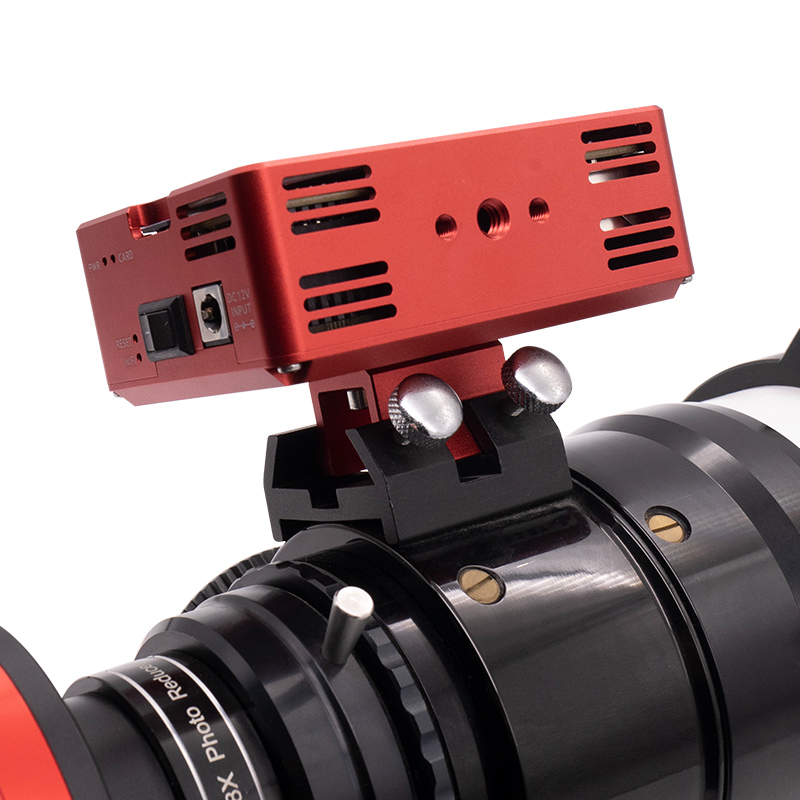
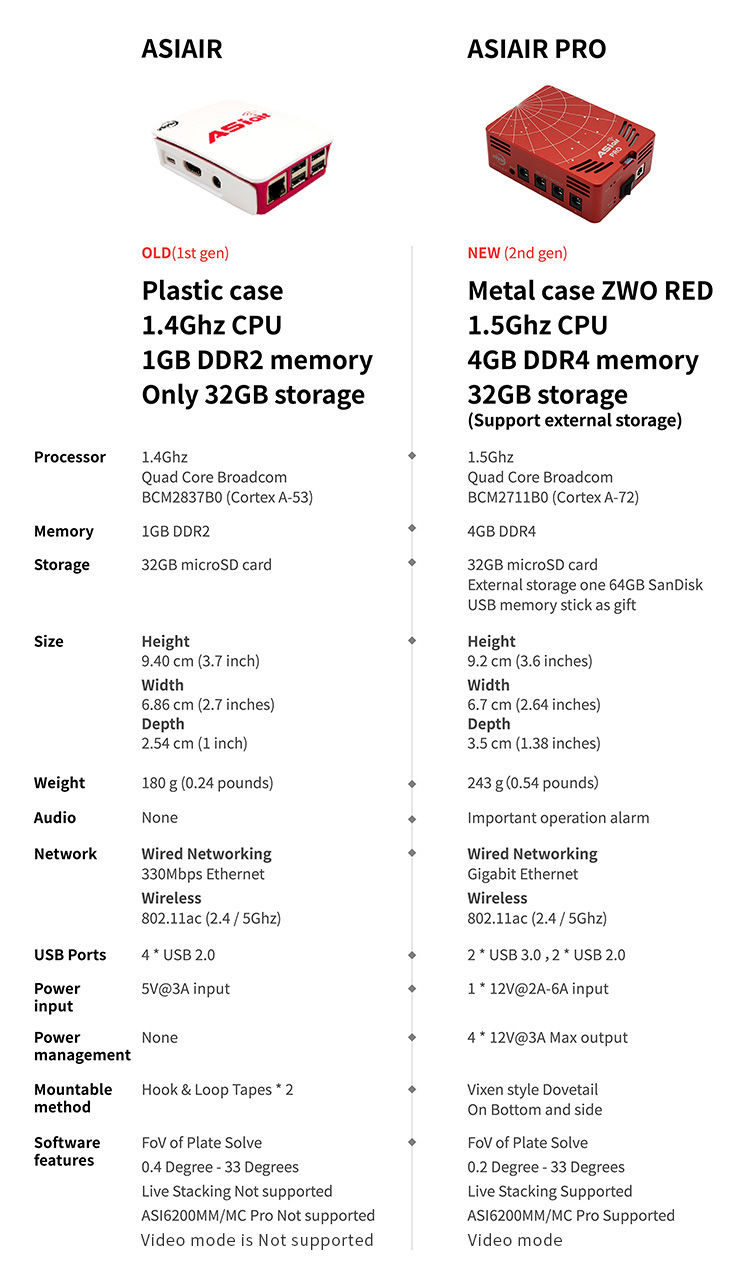
ASIAIR vs ASIAIR PRO
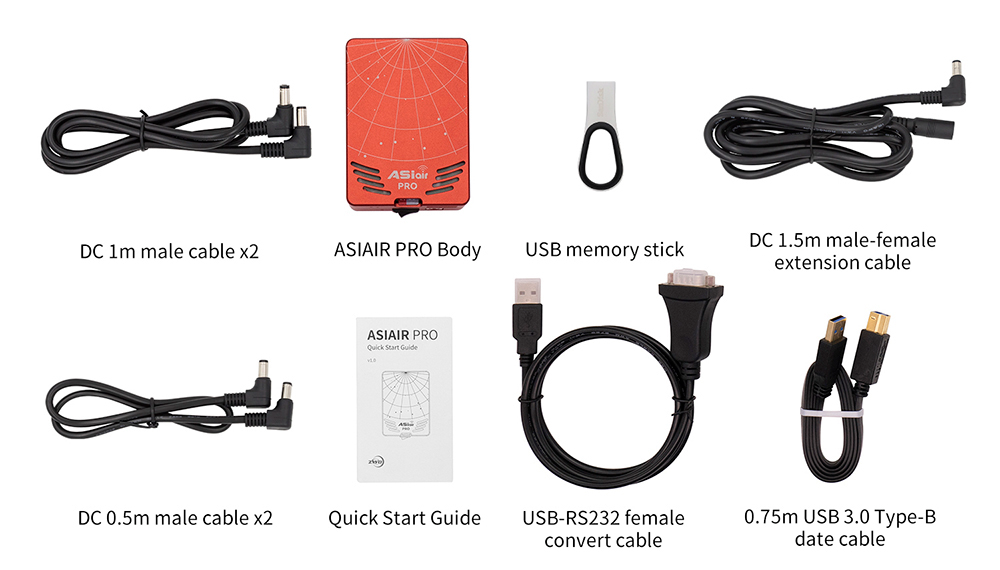
What is in the box?
- DC male 1m cable x 2
- ASIAIR PRO body
- 64GB USB memory stick
- DC 1.5m male and female cable extension cable
- DC male 0.5 m cable x2
- Quick Start Guide
- USB-RS232 female covert cable
- USB 3.0 square port 0.75m data cable
Note:
Neither USB flash drive nor TF card is covered by Warranty Policy.
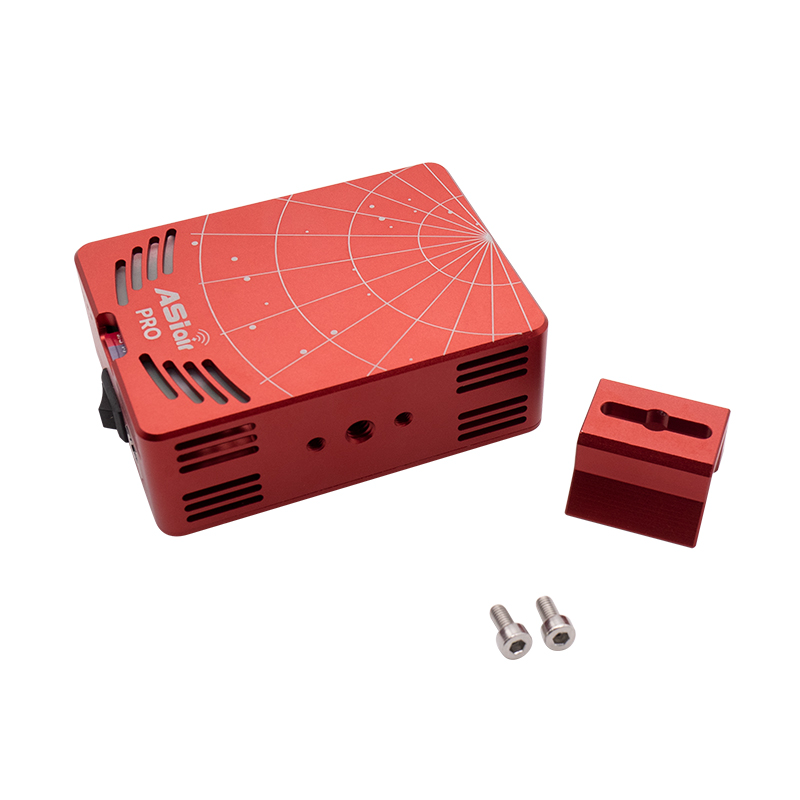
Dovetail Groove for ASIAIR PRO
The dovetail groove is designed for ASIAIR PRO to connect Vixen dovetail plate. It can help achieve more convenient and flexible installation methods compared to the original dovetail plate of ASIAIR PRO.

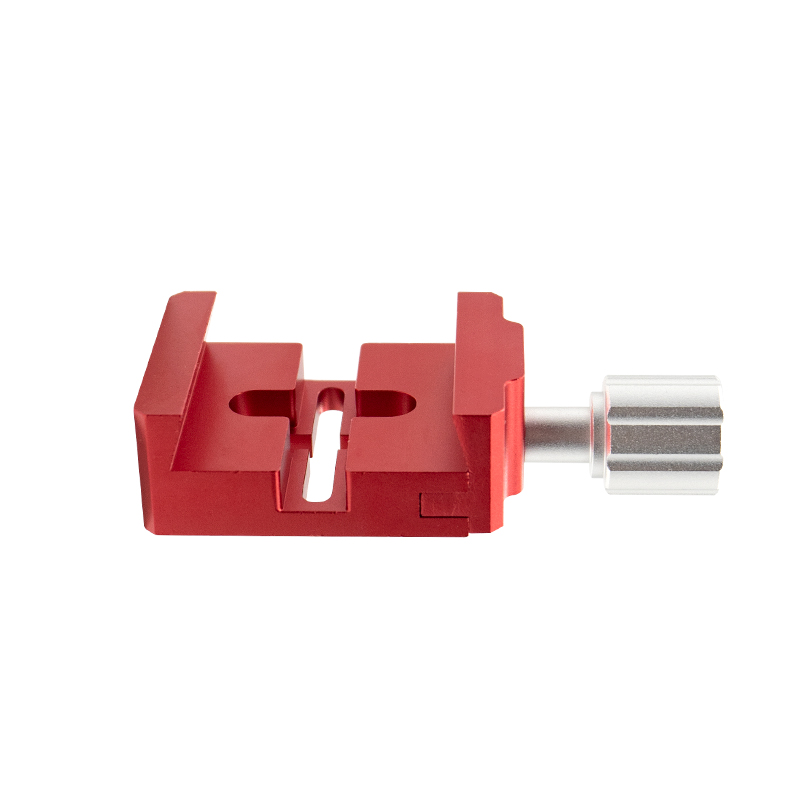
The way how to connect it to your ASIAIR PRO:
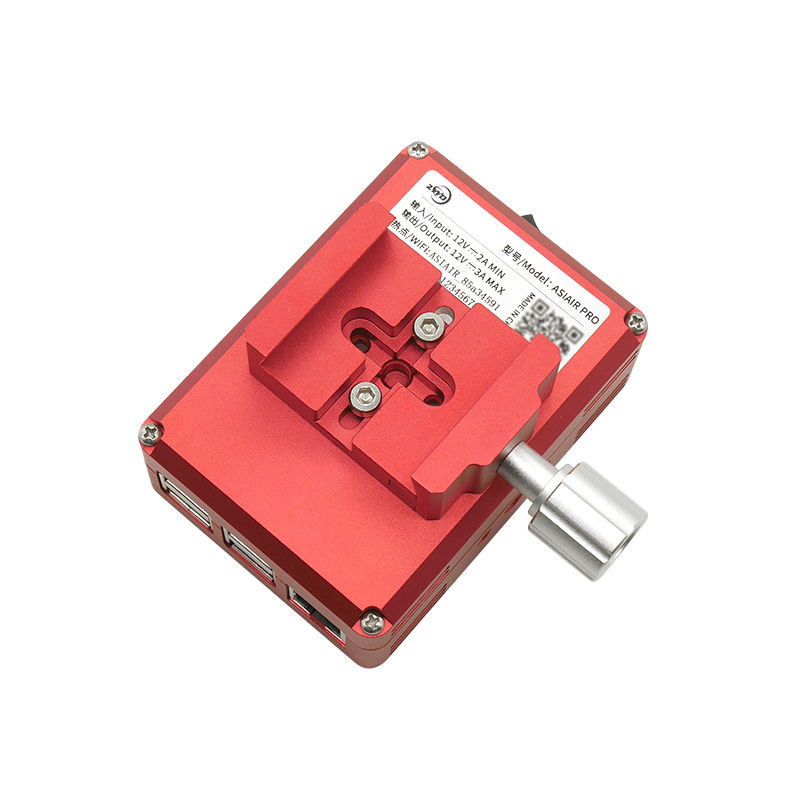
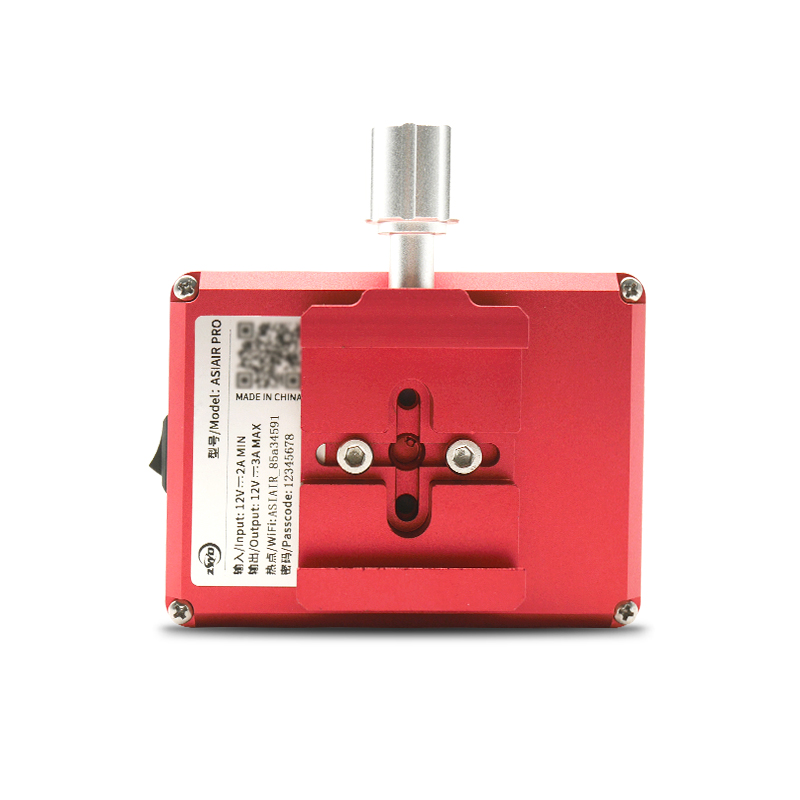

Connection tips:
1. Remove the original dovetail plate of ASIAIR PRO.
2. Fix the dovetail groove to ASIAIR PRO with the screws you just take off from the plate.
3. It’s recommended to put the bolt towards the box side as shown in the pictures above and not to block the USB ports and status indicators.

